Today is going to be super.

I have a friend who’s a huge superman nerd and has a name starting with “S”, and who recently had a birthday and got published. I thought I’d forge a Superman S as a celebratory gift, but by the end of it, I was feeling like our good buddy Clark up there.
The Failed Attempt Prototype
I’m going to jump to the results pretty quickly and discuss the process afterwards. There have been about a million variations of the Superman S over the years, but I decided to follow the Superman (2025) movie:

Ah! What a cool poster and such a nice, simple, design! Piece of cake, right? We’ll just throw it in a quick template…

… then bang some hot metal for a while, and we’ll get a perfect S…
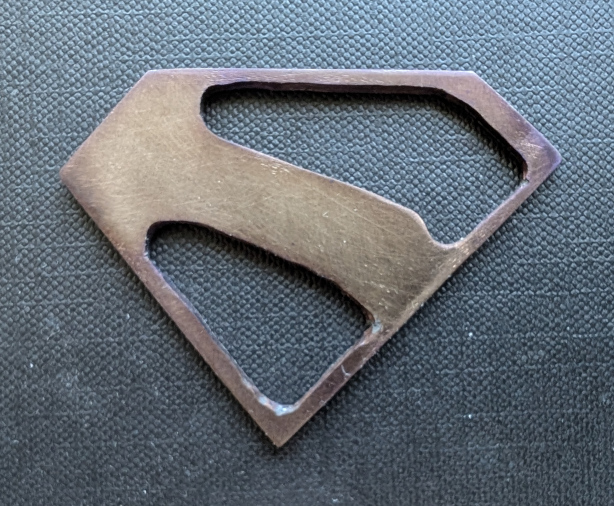
Wait, where’s my perfect S?
When it’s not right next to the reference image, this honestly isn’t too bad. It’s recognizably a Superman S, looks pretty nifty, yadda yadda. However, when you stare at the template and the workpiece for hours like I have, there’s no such thing as “not right next to the reference image”. When I look at the piece, here’s what I see:

This is the result of applying an edge filter to the workpiece image, doing a little cleanup, and overlaying it on the reference. There may be some perspective distortions, but I don’t think it’s too extreme - the workpiece photo was short nearly directly overhead.
I notice a few mistakes. For one, the holes lack the nice, crisp and straight edges in the reference. Also, the tight corners have ballooned out into gentler curves:
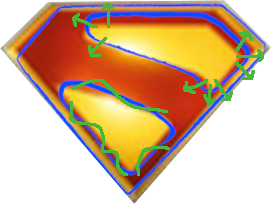
The workpiece has been stretched towards the top-right corner:
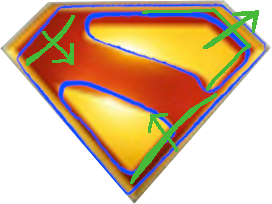
One pair of edges opens towards the top-right corner, while the other pair of edges converges towards the top-left corner:
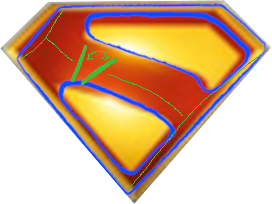
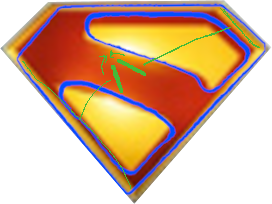
Although the workpiece is recognizably a Superman S, they bug me enough that I’d really like to try again.
What went wrong?
Let’s walk through some process photos together. I started with a section of 4140 Steel. This is a bit of an odd choice - that’s a low-Carbon, low-alloy steel generally used when excellent toughness is required. It’s a common material for automobile crank shafts or forging dies. The reason I used it for a decorative piece is it’s what I had lying around that was the right size Superman is very tough, so we need to use tough steel!
The first step was to forge out the approximate profile:
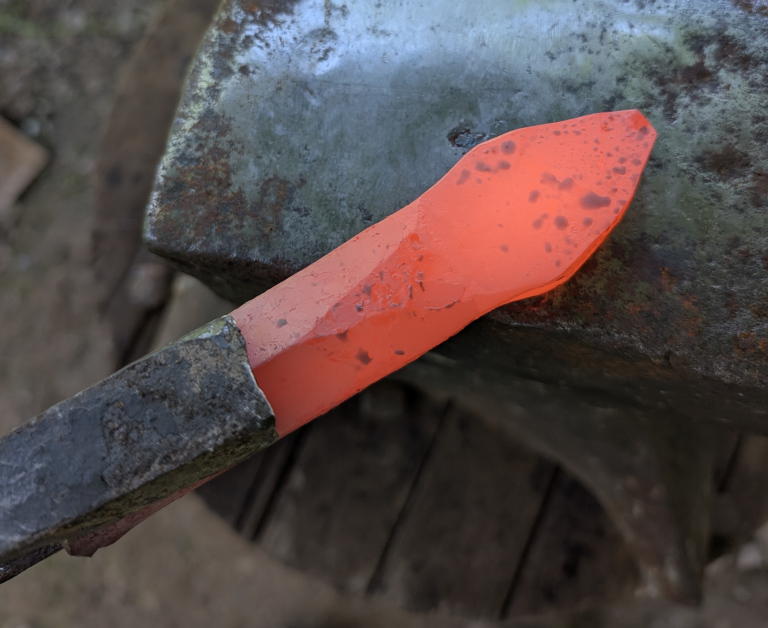
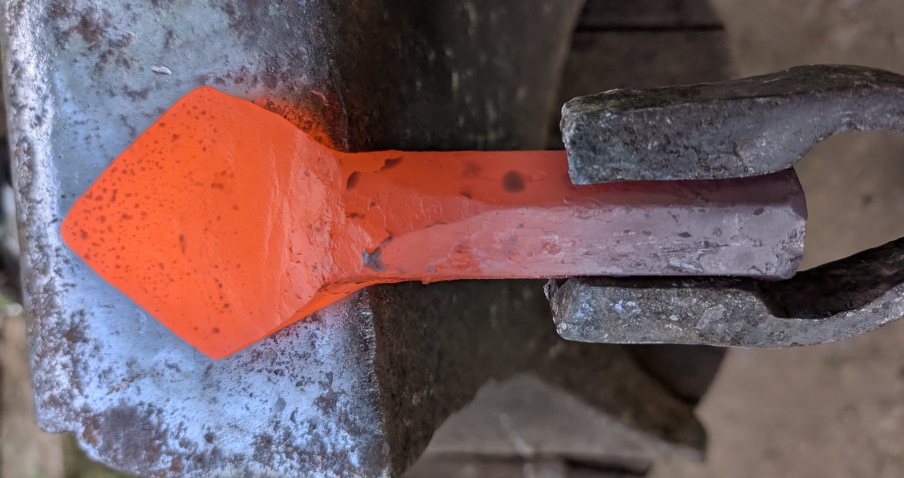
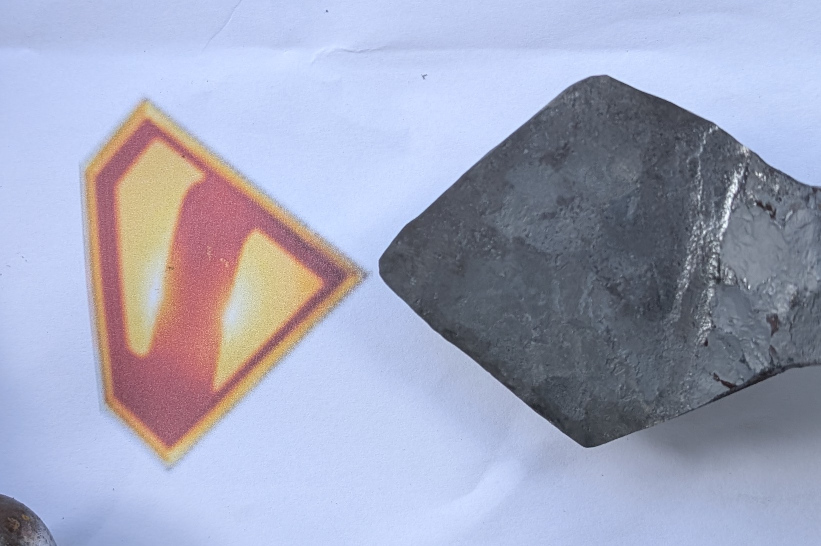
This isn’t perfect, but that doesn’t actually matter. I have a belt grinder, so the plan here is to forge the workpiece so that it contains the target shape, yet has minimal wastage. I got pretty close, then cut off the piece and brought it to the correct final profile. This was the core mistake.
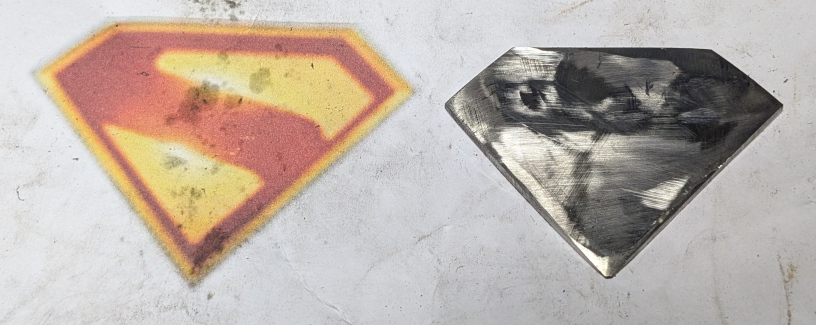
Ah, beautiful! But don’t you notice something fishy? This profile is not the one you saw above. It nearly exactly matches the reference!
Next, I cold-chiseled some guidelines for the cutouts. You may notice that I haven’t left much spare room - the guidelines are exactly where I want the final holes to be.
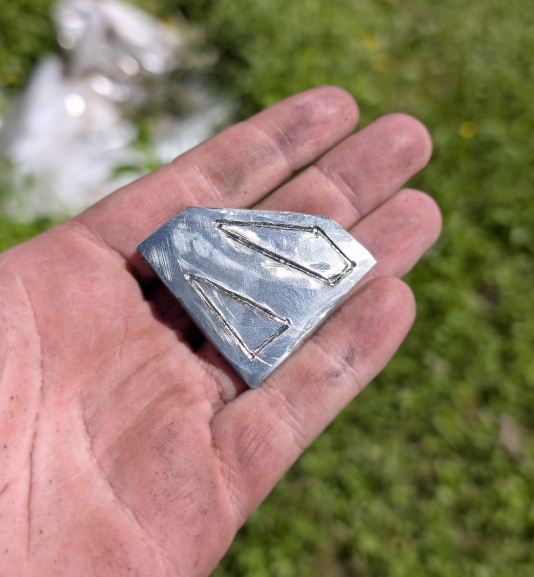
And this brings us to our disaster. Because I brought the profile to its final target before cutting the holes, and because I tried to cut the holes directly to their final form, there was an basically no wiggle room. And hell, my piece sure did want to wiggle:
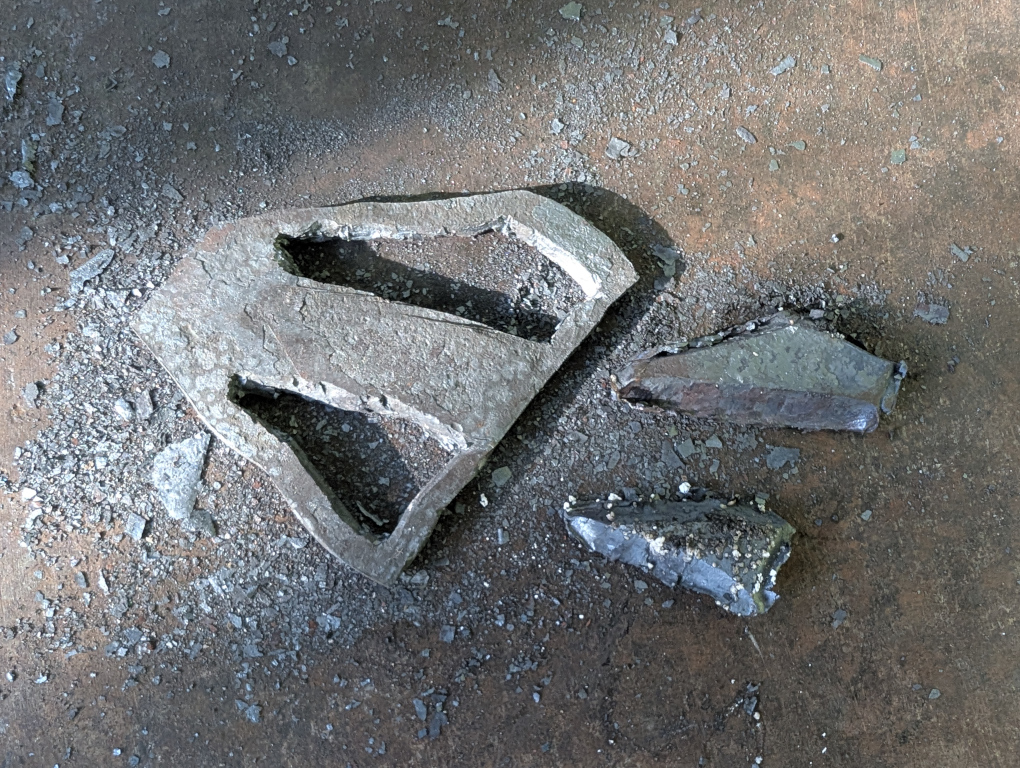
As you can see, those delicate outer bars did not want to stay in place. This image is what I ended up with after trying to correct all the warping that occurred. The problem is that you can’t just hammer the delicate bars back into place. The workpiece needs to be supported by something, and on the opposite side of the delicate bars are, well, more delicate bars. So by attempting to adjust one side, you inevitably throw the other side out of place. It’s also quite difficult to retain corners through this process. At one point, the top-right corner was nearly completely rounded over. At some point, I had to accept that I would have to sacrifice quite a bit of outer and inner material in the finishing process.
In the end, I re-profiled the piece on my belt grinder, cleaned up the holes as best I could with my knockoff Dremel tool, sanded the piece, and colored it in the toaster oven1.
What next?
In about an hour, I’m going to head back to the forge and try again. The two major process errors were grinding the final profile too early and cutting the holes too close to their target shape. These choices introduced a sensitivity to warping that caused unrecoverable issues. It should be no surprise that this time, I’m going to try cutting the holes below target shape first, allowing for finalization during the finishing process / with the Dremel-ish tool, and then grinding the profile to target. Otherwise, I’m pretty happy with the process.
There are design changes on top of the process changes. I showed my friend the prototype and asked about which of the million 180 Superman S’s are best. They pointed me to this cool dude, Conner (no relation):
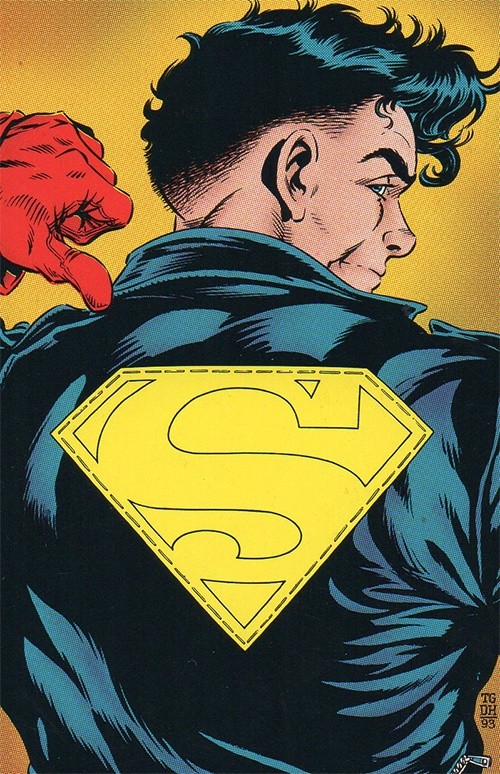
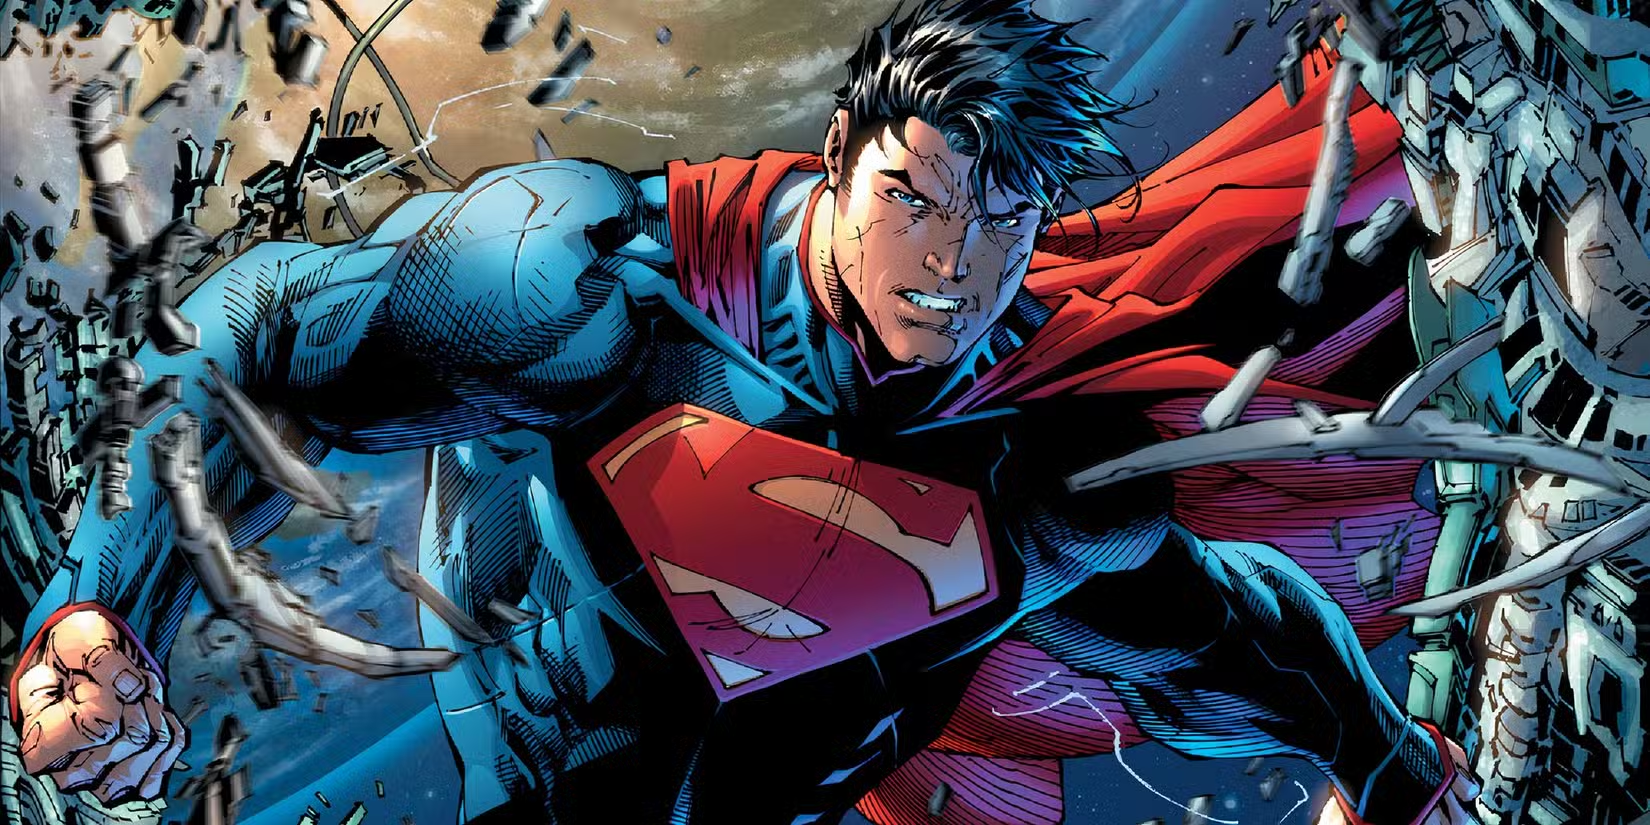
Conveniently, that first image is basically already a template! It’s certainly more complicated than the 2025 design, but now that I’ve had some practice, I think I can give it a shot. My biggest concern is with the very sharp corners, such as on the lefthand side of the S. I don’t think I have exactly the right not-Dremel bits to achieve this, but we’ll do our best.
The other design change is the addition of a backing plate. The iconic red-on-yellow is missing from the prototype, and I’ve had the clever idea of making two pieces. One solid backing piece, which I’ll color yellow, and one foreground piece which I’ll color red(dish purple). I can probably just epoxy them together and call it a day.
The palette I’m working with consists of the classic steel tempering colors:
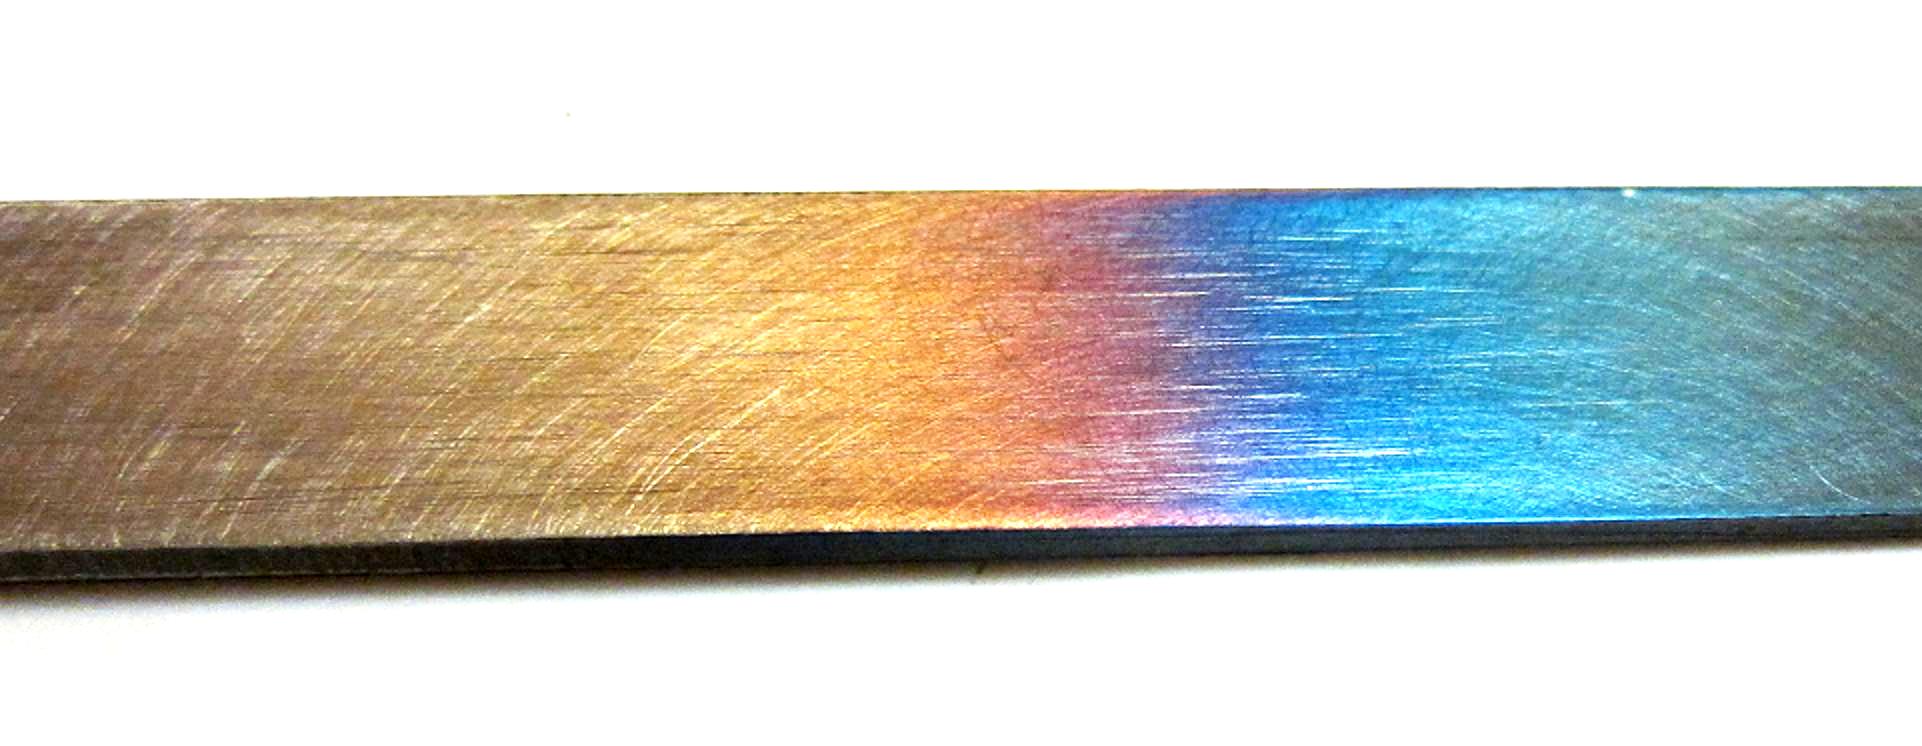
Overall, I’m hoping for something like this:
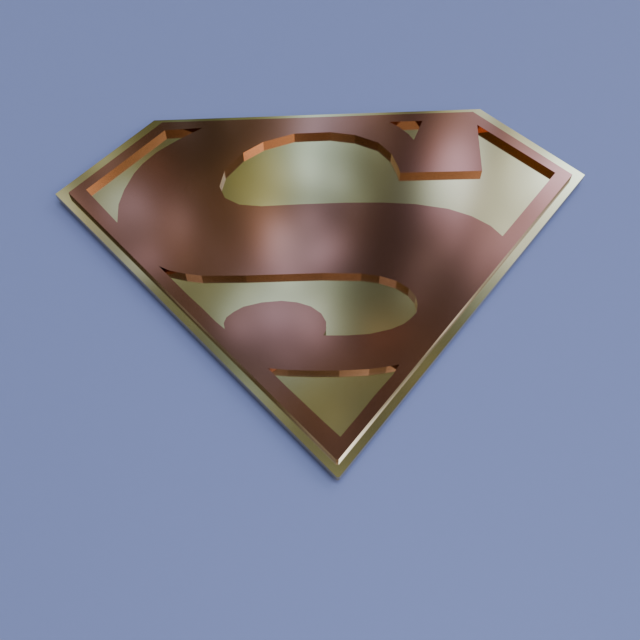
Wish me luck!
-
When you heat bare steel to about 300F, it starts forming an oxidation layer. This oxidation layer results in a range of colors through a process called Thin-Film Interference. The thickness of the film (in this case, the oxidation layer) determines the resulting color. Conveniently, the thickness also depends on the temperature of the steel. Thus, there’s a (modulo real world variation) bijective correspondence between steel colors and time+temperature. In this case, we can pop the workpiece into a toaster oven at a specific temperature to achieve a target color. Blacksmiths often use the reverse correspondence, and use the oxidation colors as a proxy temperature measurement. ↩︎